Pocket Jim!
More details coming soon...
Source
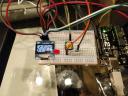
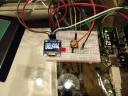
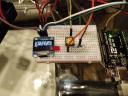
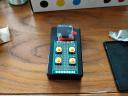
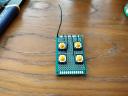
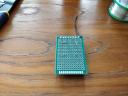
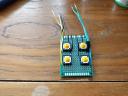
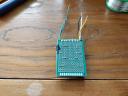
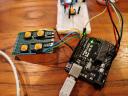
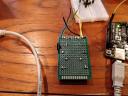
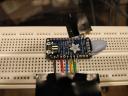
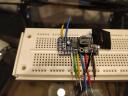
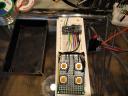
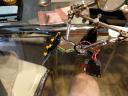
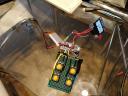
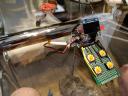
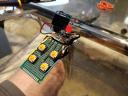
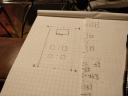
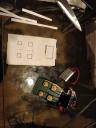
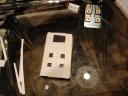
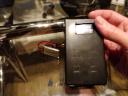
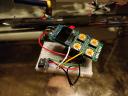
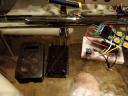
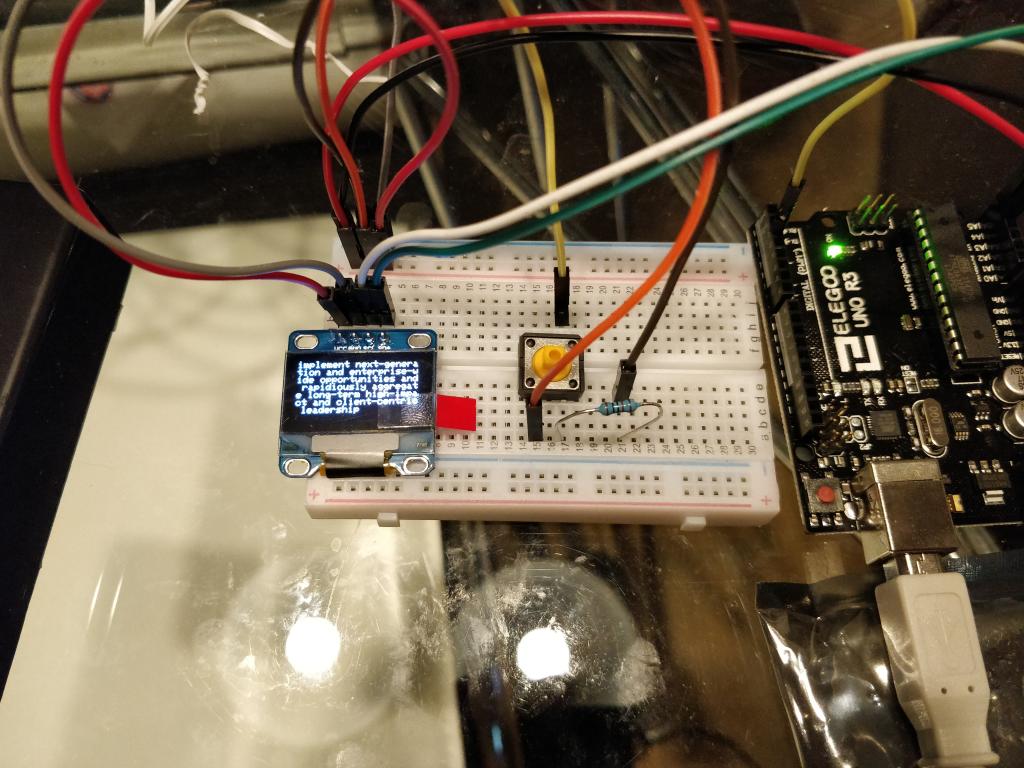
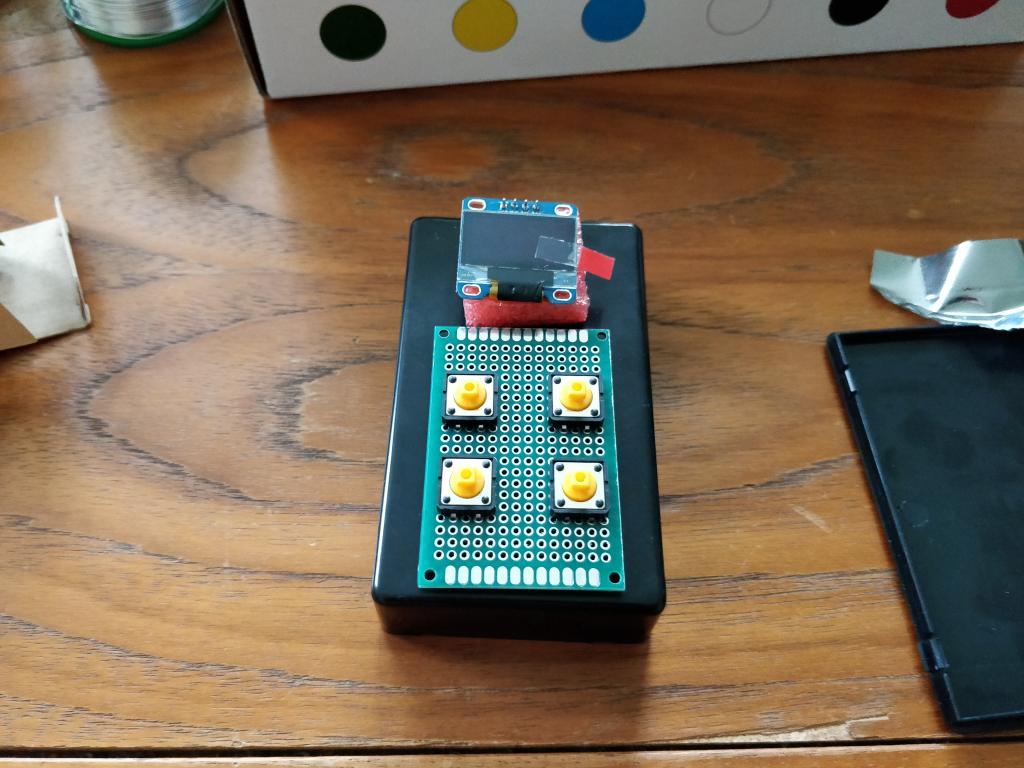
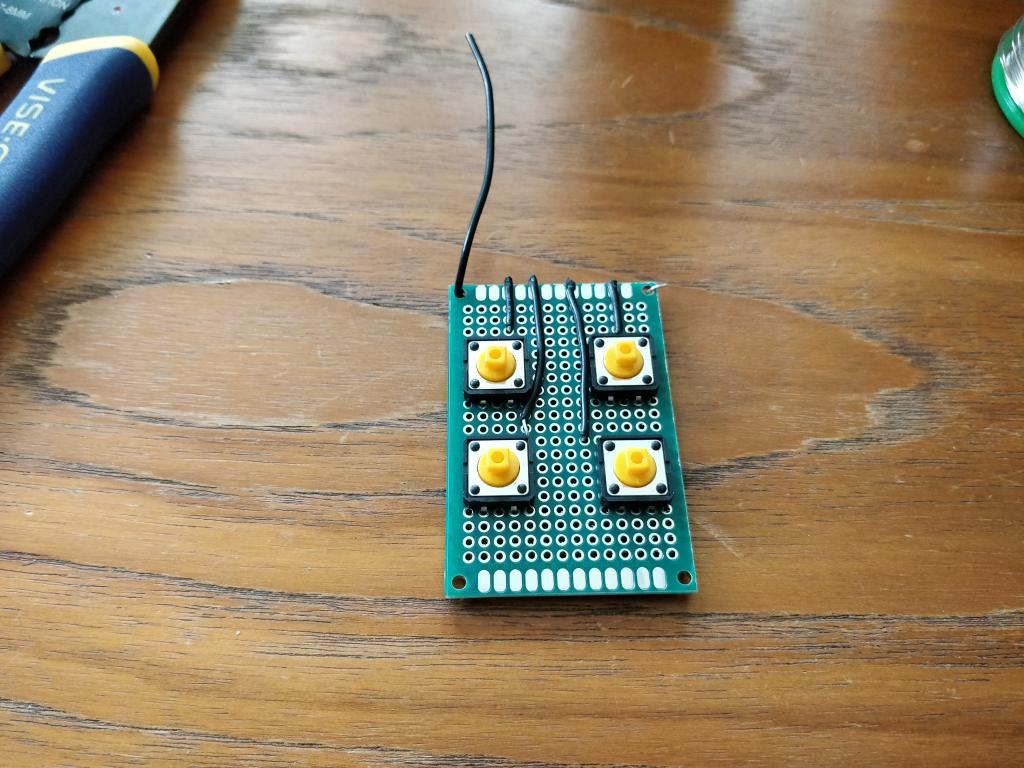
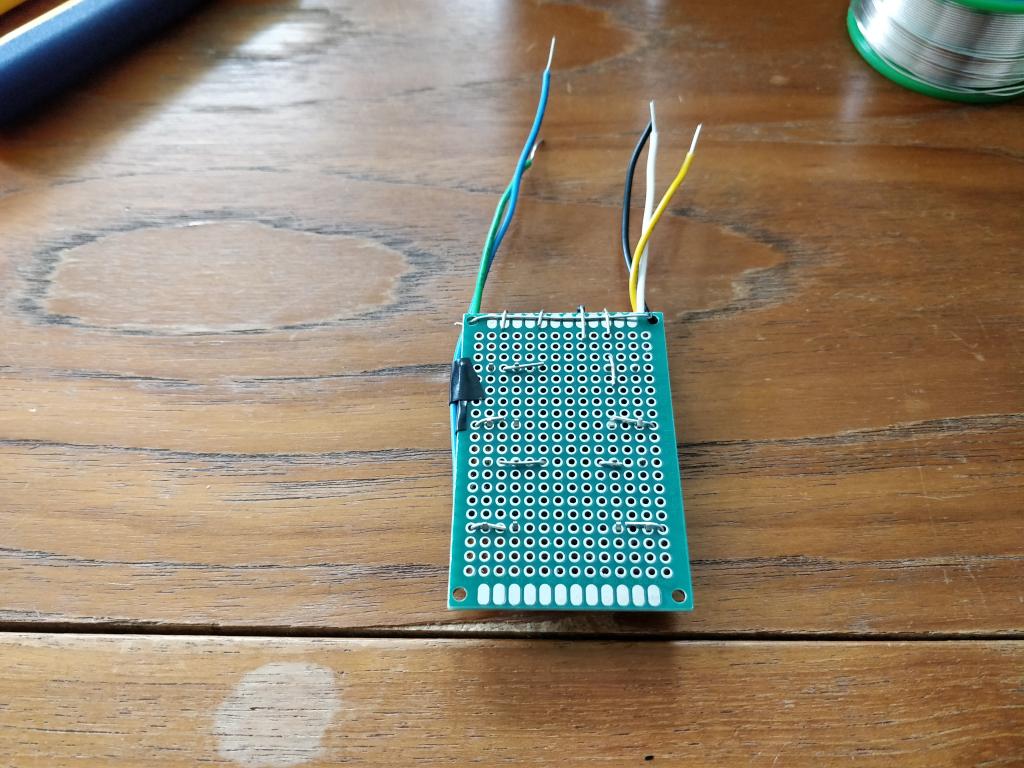
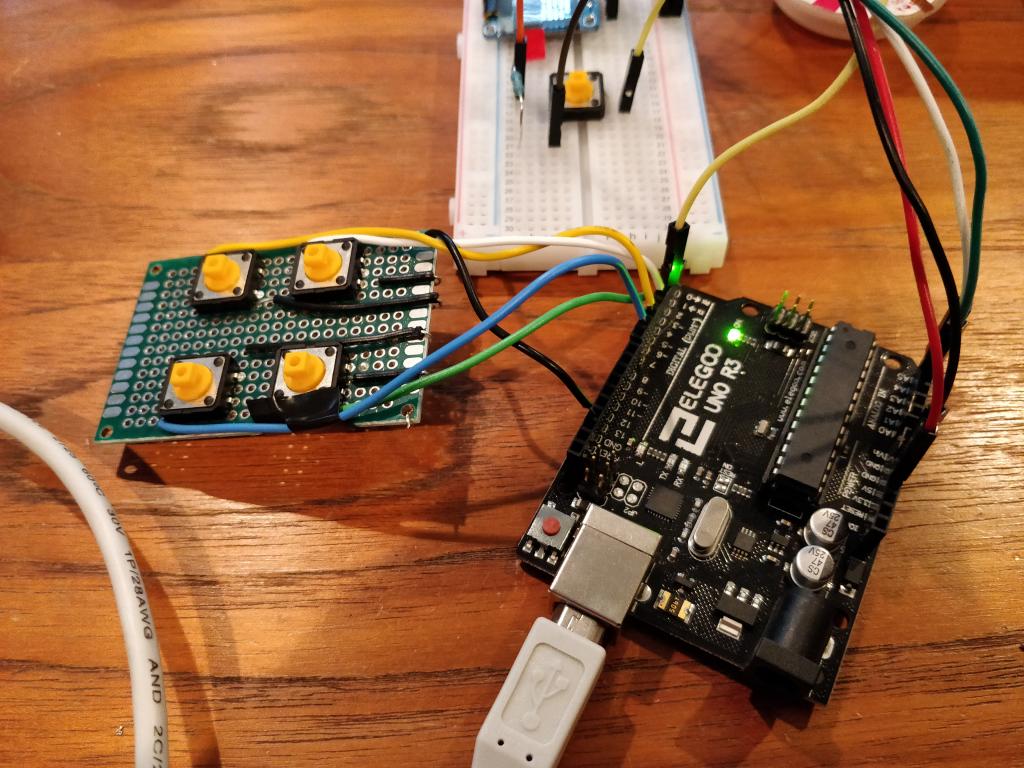
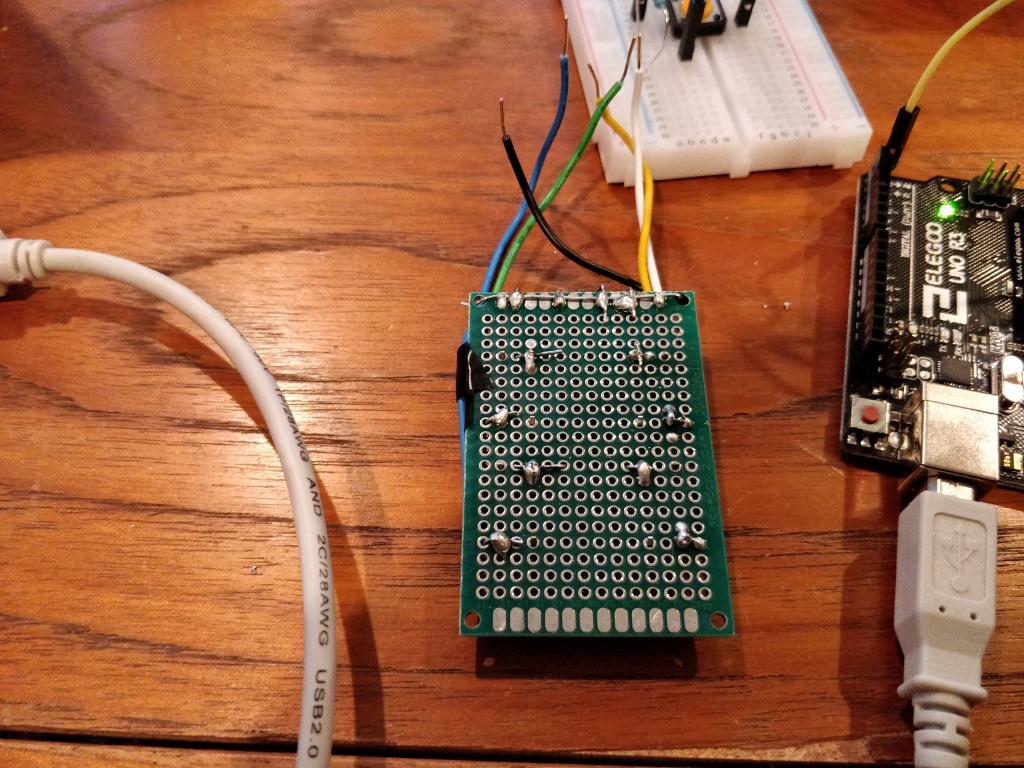
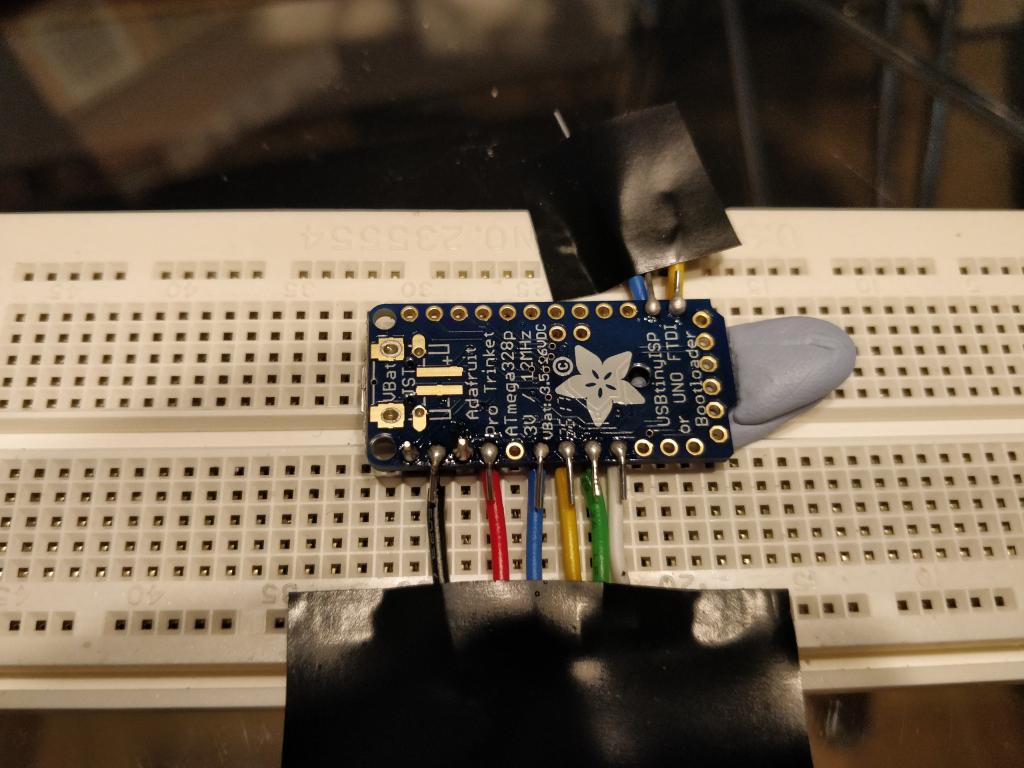
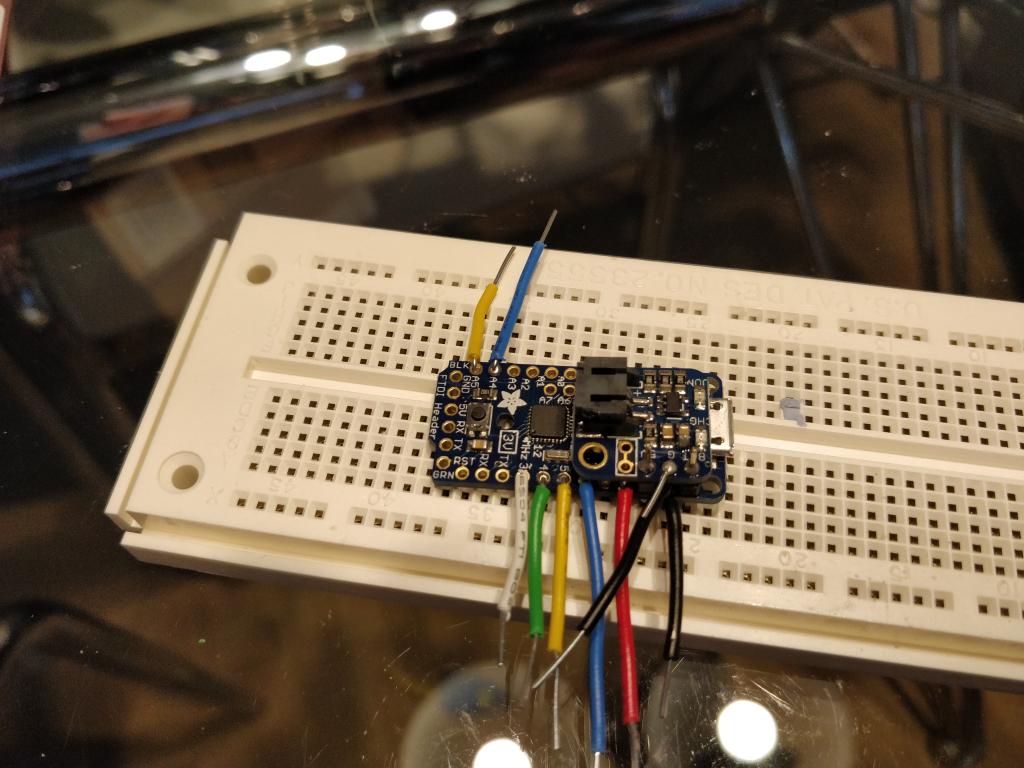
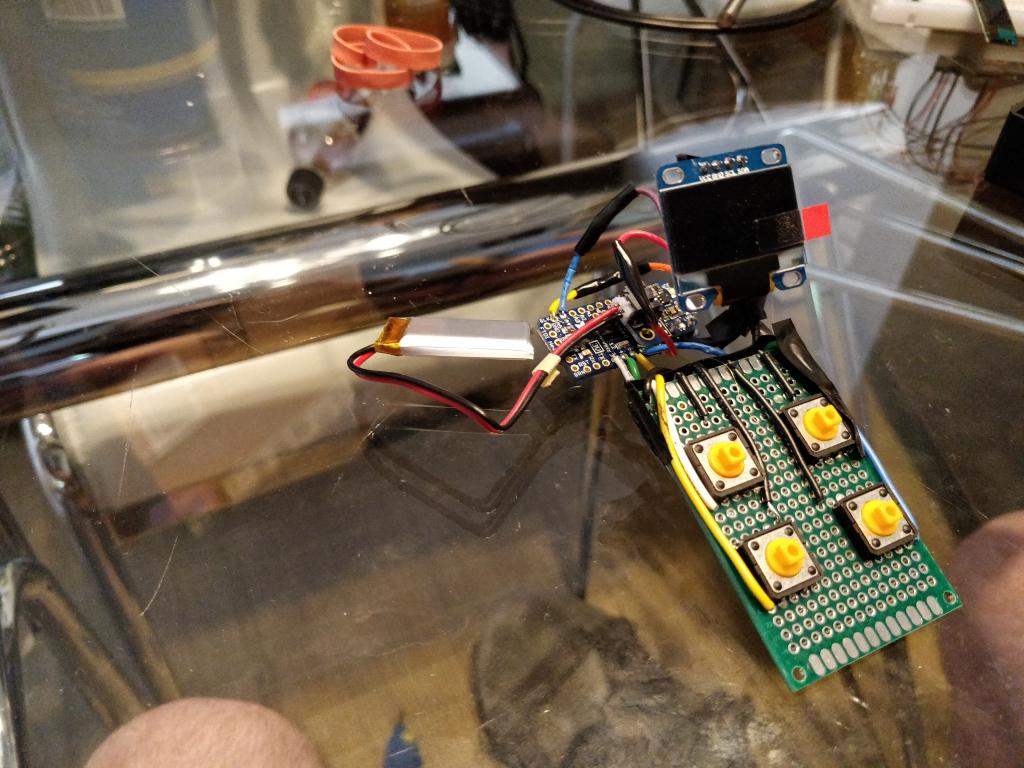
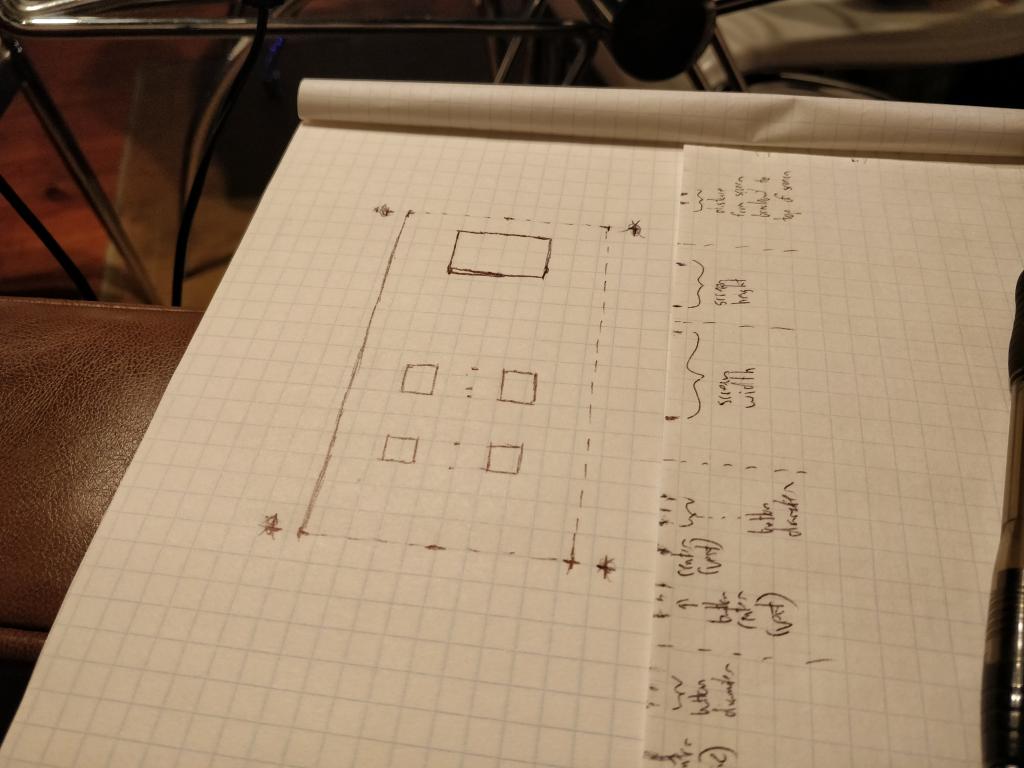
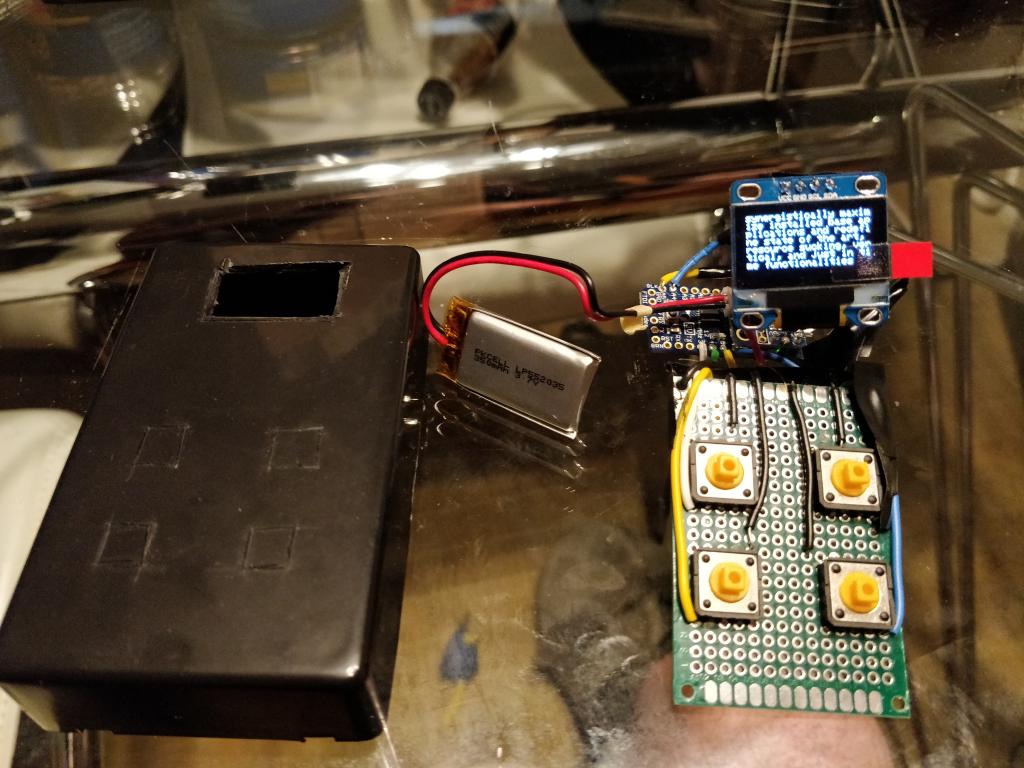
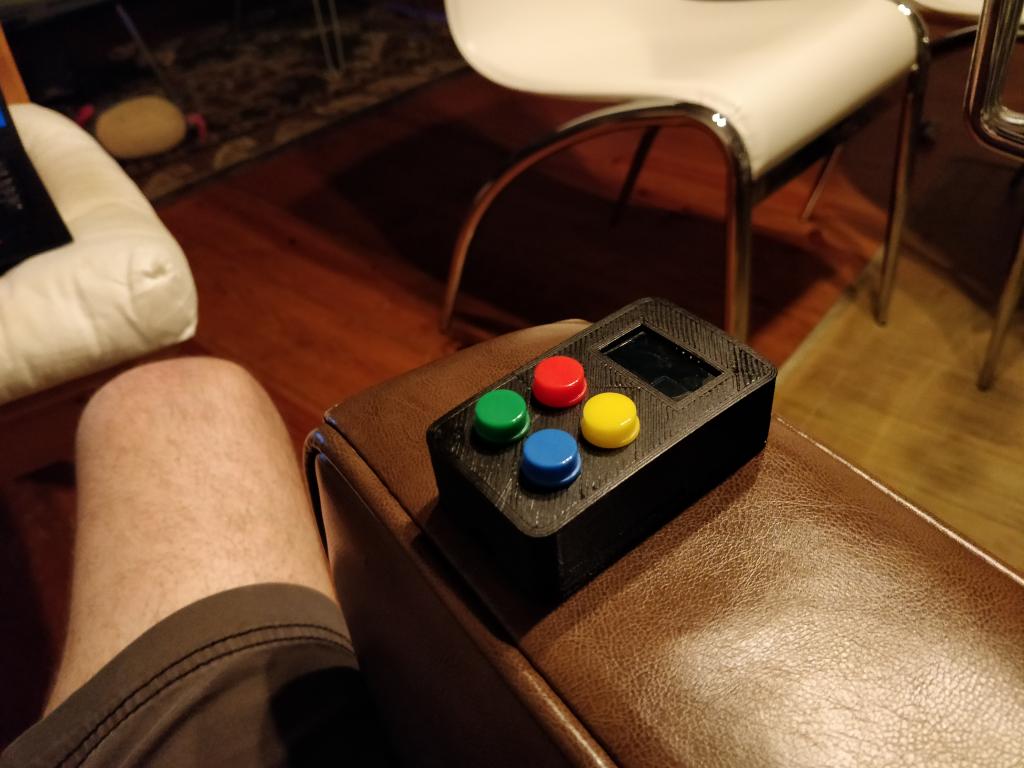
Assembly Pictures